
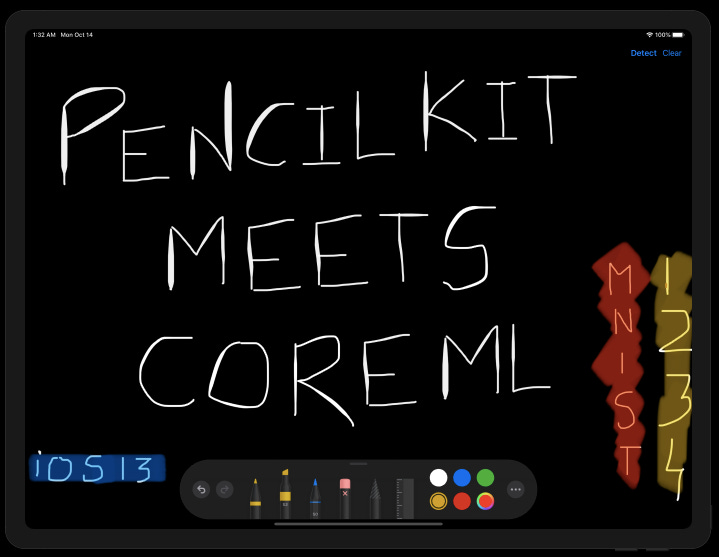
PencilKit Meets Core ML in iOS 13

We’ve had a good look at PencilKit in our previous article. Three actors play a major role in setting up the PencilKit framework in our applications. They are :
PKCanvasViewPKDrawingViewPKToolPicker
It’s time to onboard Core ML into the drawing arena. The goal of this article is to run Handwritten Digit Classification using the famous MNIST Model on our PencilKit drawings.
MNSIT: A quick word
The MNIST dataset is an image dataset of handwritten digits with dimensions 28X28 and is grayscale. The images are of the size 20X20 and are normalized to fit in the center of the box. The accuracy works best when the digits are centered in the input image.
We won’t be digging deep into the model layers and training the dataset in this article. Let’s assume we were gifted Core ML MNSIT ML Model and jump onto the implementation.
Our Final Destionation
An image is worth a thousand words. A GIF is composed of thousands of images. Here’s the final outcome you’ll get by the end of this article.
Setting Up
Before Core ML asks out the PencilKit framework on a date, let’s get our PencilKit framework dressed.
Setting up the canvas
It’s really easy to set up the PKCanvasView in our application, as the following code shows:
| let canvasView = PKCanvasView(frame: .zero) | |
| canvasView.backgroundColor = .black | |
| canvasView.translatesAutoresizingMaskIntoConstraints = false | |
| view.addSubview(canvasView) | |
| NSLayoutConstraint.activate([ | |
| canvasView.topAnchor.constraint(equalTo: navigationBar.bottomAnchor), | |
| canvasView.bottomAnchor.constraint(equalTo: view.bottomAnchor), | |
| canvasView.leadingAnchor.constraint(equalTo: view.leadingAnchor), | |
| canvasView.trailingAnchor.constraint(equalTo: view.trailingAnchor), | |
| ]) |
Setting our tool picker
The ToolPicker is responsible for displaying the various brushes in our application. It provides ink, pencil, selection, eraser tools along with an option to undo and redo(this is available on iPadOS only owing to the size of the screen).
The following code shows how to set up the ToolPicker UI in our application:
| override func viewDidAppear(_ animated: Bool) { | |
| super.viewDidAppear(animated) | |
| guard | |
| let window = view.window, | |
| let toolPicker = PKToolPicker.shared(for: window) else {return} | |
| toolPicker.setVisible(true, forFirstResponder: canvasView) | |
| toolPicker.addObserver(canvasView) | |
| canvasView.becomeFirstResponder() | |
| } |
Setting our navigation bar buttons
The navigation bar was already added to the storyboard. In the following code, we’ve added a few action buttons to it.
The left bar button is where the final predicted output is displayed.
Preprocessing the Drawing Input
In order to feed the PencilKit drawings to the CoreML framework. We first need to extract the image from the canvas. Let’s see how’s that done.
Converting the
PKDrawinginstance into aUIImageis straightforward. The real challenge is in preprocessing it for the Core ML Model.The UIImage we get from the PKDrawing contains just the drawn image with no padding.
We need to create an image with the size of the view and overlay the
UIImagefrom thePKDrawingin the center of it. Basically a UIImage within a UIImage.
The following code does that for you:
| func preprocessImage() -> UIImage{ | |
| var image = canvasView.drawing.image(from: canvasView.drawing.bounds, scale: 10.0) | |
| if let newImage = UIImage(color: .black, size: CGSize(width: view.frame.width, height: view.frame.height)){ | |
| if let overlayedImage = newImage.image(byDrawingImage: image, inRect: CGRect(x: view.center.x, y: view.center.y, width: view.frame.width, height: view.frame.height)){ | |
| image = overlayedImage | |
| } | |
| } | |
| } |
The following helper extensions functions were used in the above code:
| extension UIImage { | |
| public convenience init?(color: UIColor, size: CGSize = CGSize(width: 1, height: 1)) { | |
| let rect = CGRect(origin: .zero, size: size) | |
| UIGraphicsBeginImageContextWithOptions(rect.size, false, 0.0) | |
| color.setFill() | |
| UIRectFill(rect) | |
| let image = UIGraphicsGetImageFromCurrentImageContext() | |
| UIGraphicsEndImageContext() | |
| guard let cgImage = image?.cgImage else { return nil } | |
| self.init(cgImage: cgImage) | |
| } | |
| func image(byDrawingImage image: UIImage, inRect rect: CGRect) -> UIImage! { | |
| UIGraphicsBeginImageContext(size) | |
| draw(in: CGRect(x: 0, y: 0, width: size.width, height: size.height)) | |
| image.draw(in: rect) | |
| let result = UIGraphicsGetImageFromCurrentImageContext() | |
| UIGraphicsEndImageContext() | |
| return result | |
| } | |
| } | |
| extension CGRect { | |
| var center: CGPoint { return CGPoint(x: midX, y: midY) } | |
| } |
Prediction Using Core ML
Now that the image is input-ready, we need to do the following three things:
Resize it to the input size 28 x 28.
Convert it into a
CVPixelBufferin the grayscale color space.Feed it to the Core ML Model.
| private let trainedImageSize = CGSize(width: 28, height: 28) | |
| func predictImage(image: UIImage){ | |
| if let resizedImage = image.resize(newSize: trainedImageSize), let pixelBuffer = resizedImage.toCVPixelBuffer(){ | |
| guard let result = try? MNIST().prediction(image: pixelBuffer) else { | |
| return | |
| } | |
| navigationBar.topItem?.leftBarButtonItem?.title = "Predicted: \(result.classLabel)" | |
| print("result is \(result.classLabel)") | |
| } | |
| } |
The following extension functions were used for the above code:
| extension UIImage{ | |
| func resize(newSize: CGSize) -> UIImage? { | |
| UIGraphicsBeginImageContextWithOptions(newSize, false, 0.0) | |
| self.draw(in: CGRect(x: 0, y: 0, width: newSize.width, height: newSize.height)) | |
| let newImage = UIGraphicsGetImageFromCurrentImageContext() | |
| UIGraphicsEndImageContext() | |
| return newImage | |
| } | |
| func toCVPixelBuffer() -> CVPixelBuffer? { | |
| var pixelBuffer: CVPixelBuffer? = nil | |
| let attr = [kCVPixelBufferCGImageCompatibilityKey: kCFBooleanTrue, | |
| kCVPixelBufferCGBitmapContextCompatibilityKey: kCFBooleanTrue] as CFDictionary | |
| let width = Int(self.size.width) | |
| let height = Int(self.size.height) | |
| CVPixelBufferCreate(kCFAllocatorDefault, width, height, kCVPixelFormatType_OneComponent8, attr, &pixelBuffer) | |
| CVPixelBufferLockBaseAddress(pixelBuffer!, CVPixelBufferLockFlags(rawValue:0)) | |
| let colorspace = CGColorSpaceCreateDeviceGray() | |
| let bitmapContext = CGContext(data: CVPixelBufferGetBaseAddress(pixelBuffer!), width: width, height: height, bitsPerComponent: 8, bytesPerRow: CVPixelBufferGetBytesPerRow(pixelBuffer!), space: colorspace, bitmapInfo: 0)! | |
| guard let cg = self.cgImage else { | |
| return nil | |
| } | |
| bitmapContext.draw(cg, in: CGRect(x: 0, y: 0, width: width, height: height)) | |
| return pixelBuffer | |
| } | |
| } |
Conclusion
So we managed to use CoreML and PencilKit framework together to determine the sketches drawn using the MNIST dataset. Machine learning on the device has plenty of use cases and inferring the drawings is just one of them. You can find the full source code in the Github Repository.